Finding Mushrooms
Autumn invites you to take photos in many ways – not only with colorful leaves, but also in the shade under the trees, where the mushrooms slumber.
Autumn in the forest
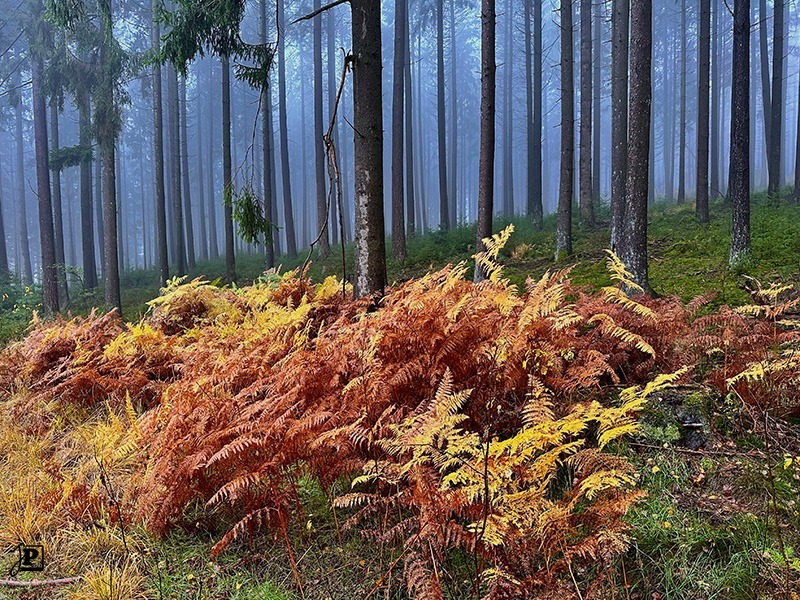
When the days get shorter and the nights get colder, the most interesting season for photographers (in my opinion) begins: fall. With its special light moods and the many bright and vibrant colors, it offers countless opportunities to be captured. However, if you only think of trees, especially the colorful splendor of the many types of maple, you are clearly missing the point. The beauty is often hidden and you have to look twice to find it: Mushrooms.
It’s early November 2023 and I’m looking for photos for the next calendar. The much-vaunted “Golden October” has literally fallen through this year. It has been raining almost non-stop for weeks – later the news will say it was the sixth-wettest autumn since records began. Without sunshine, however, photos of colorful trees are out of the question – so, what to do?
As is so often the case, I browsed YouTube and various photo blogs. There seems to be only one topic everywhere, namely photographing mushrooms in every conceivable variation. Why not? I had never done that specifically before. What’s more, the very varied forests here in the Odenwald offer ideal conditions for finding a wide variety of mushroom species. There are open beech stands, dense spruce forests and, above all, a lot of dead wood, which is deliberately left in the forest. The cold, wet weather is ideal – for mushrooms, mind you, not for people. But the dog has to be walked anyway, so why not just take the camera along?
Finding and photographing mushrooms
Finding mushrooms in the forest is often easier said than done – especially as I usually stick to forest roads and hiking trails and don’t just trot wildly through the forest. But, over time you get a feel for where certain varieties feel at home. Mossy ground in the dense shade of spruce trees is one example, as are old tree stumps, or partial shade under ferns. It is rare to find one in an open area.
Once you’ve found them, the next question is: what’s the best way to photograph them? The classic “oh look, a mushroom” photo with the available light and taken from above has more of a documentary character, but is not necessarily suitable for a calendar. Perspective and lighting are therefore two essential points.
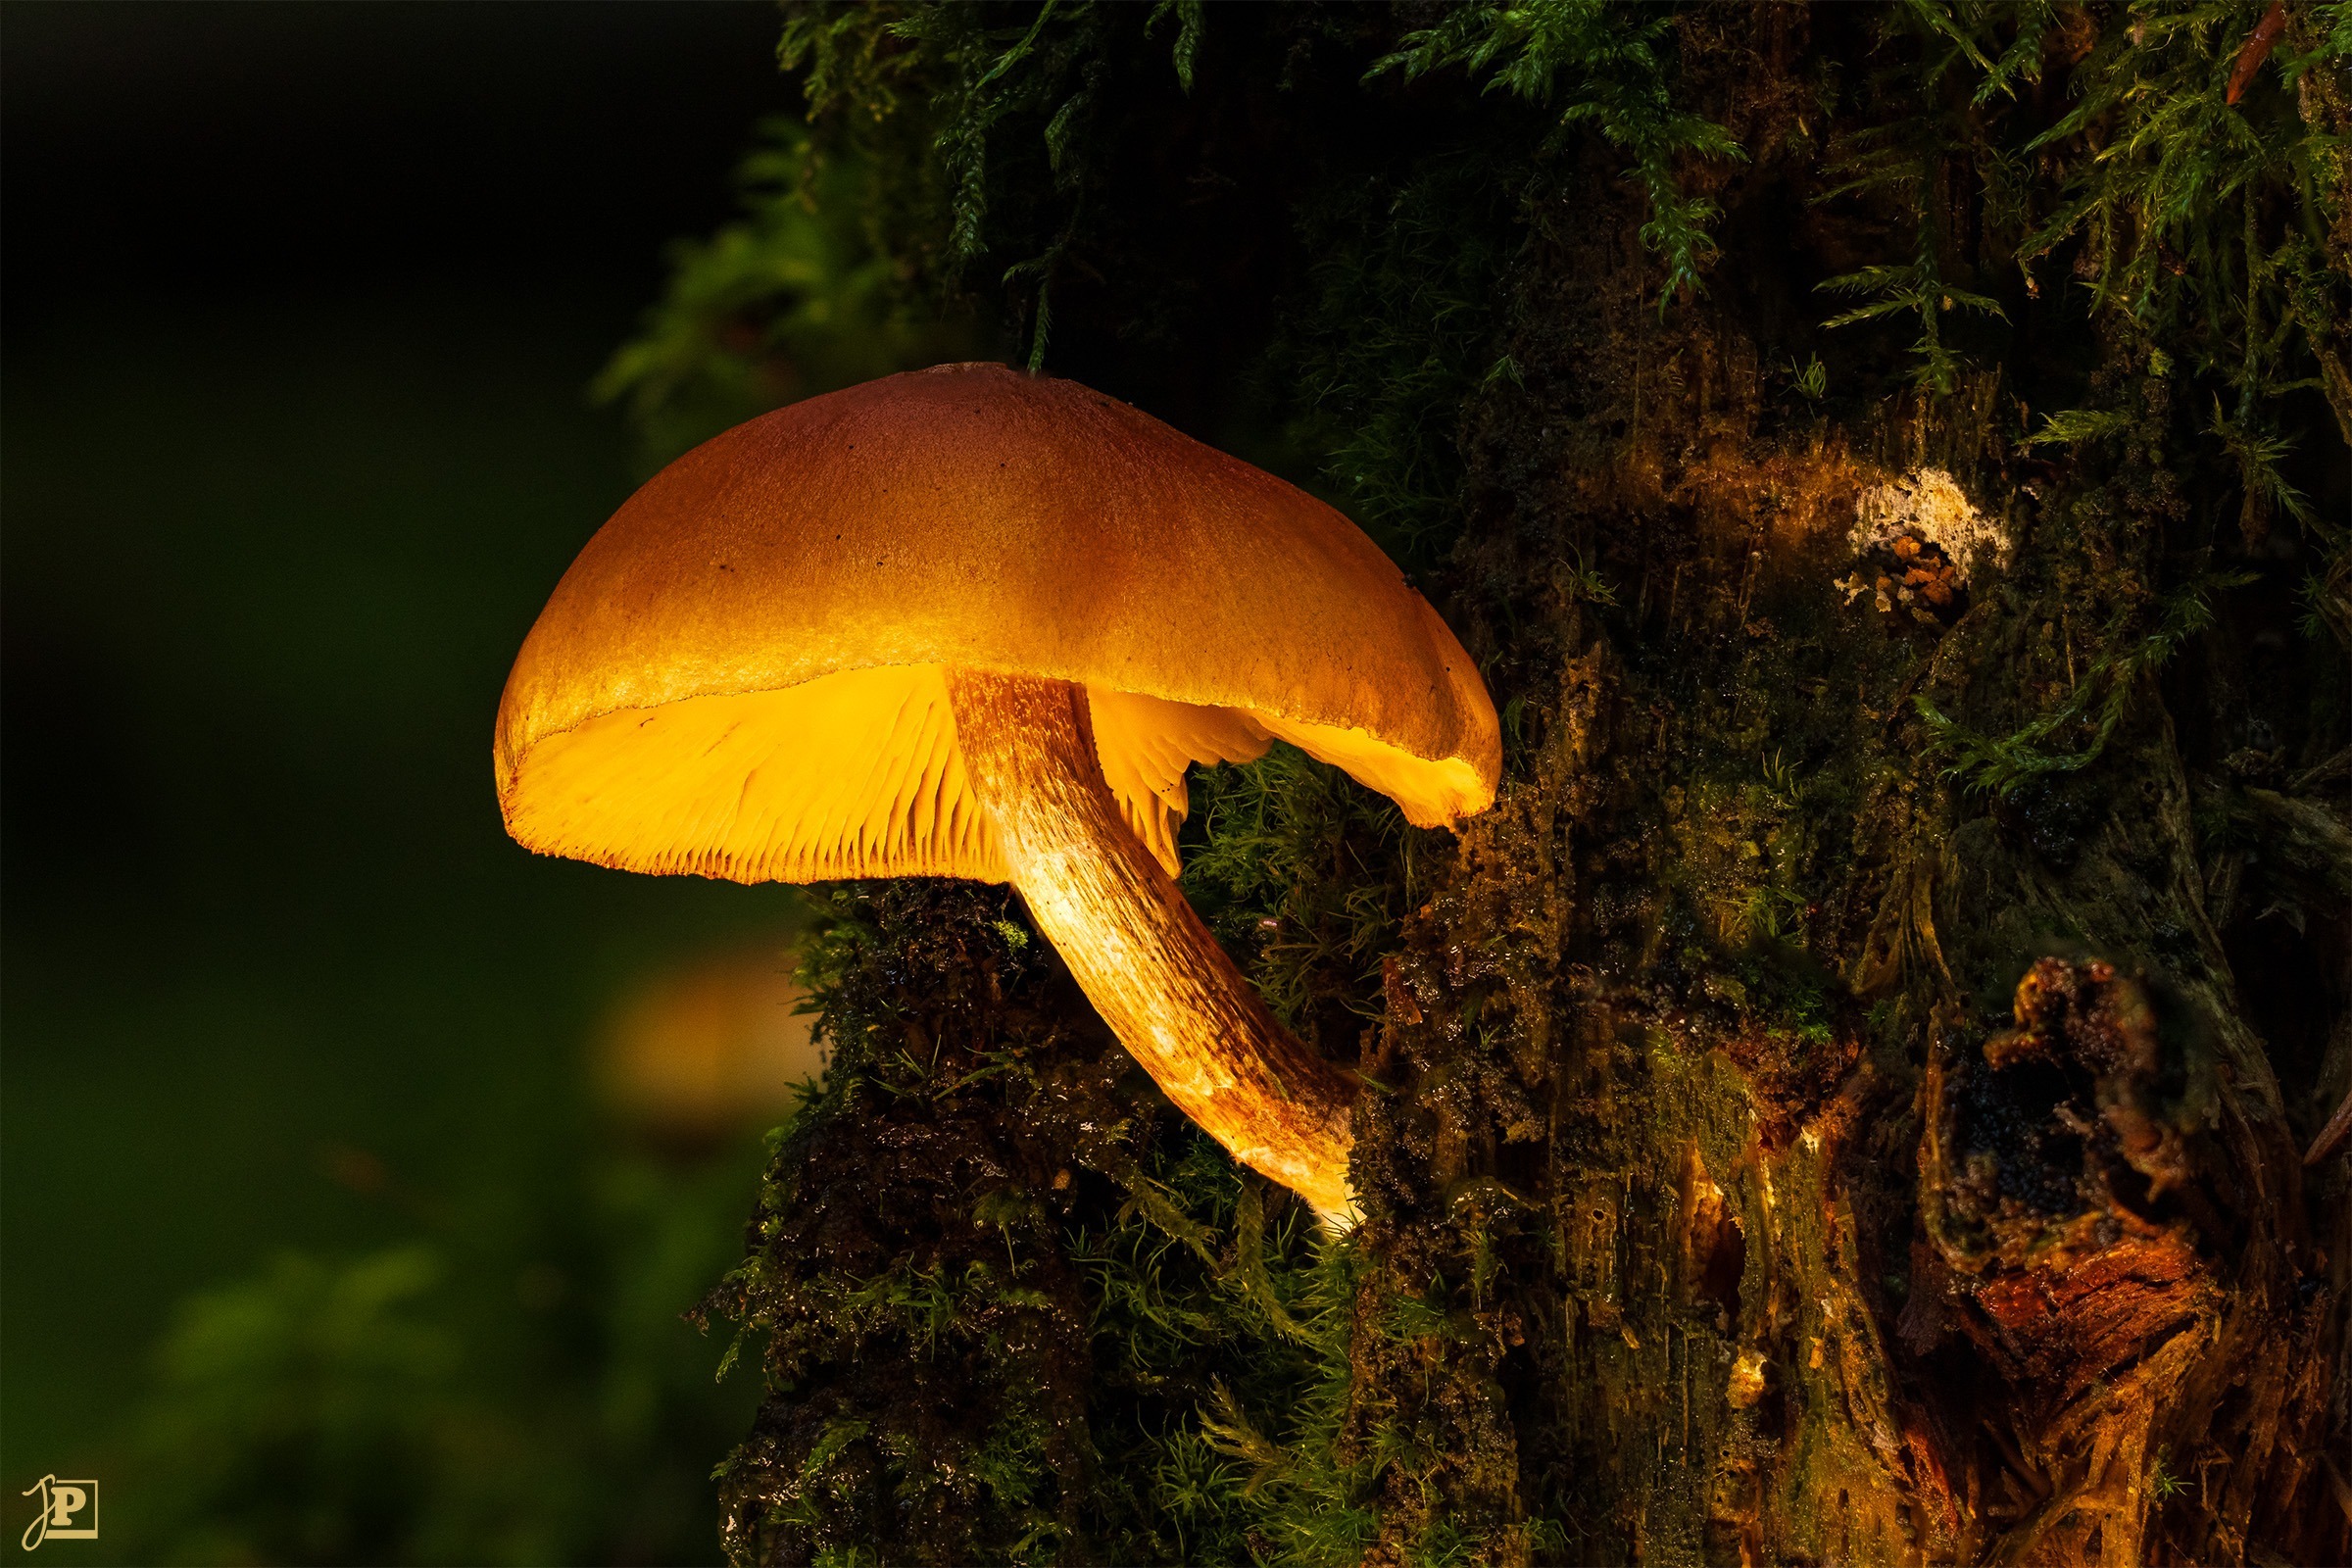
I bought two things for exactly this purpose: a mini tripod, which enables a stable camera position close to the ground, and an LED light panel. This has a diagonal of 6.5″, which is about the size of a smartphone. Thanks to the integrated rechargeable battery, it can be used freely and the brightness and light color can be adjusted almost infinitely. The aim was to make the mushrooms glow.
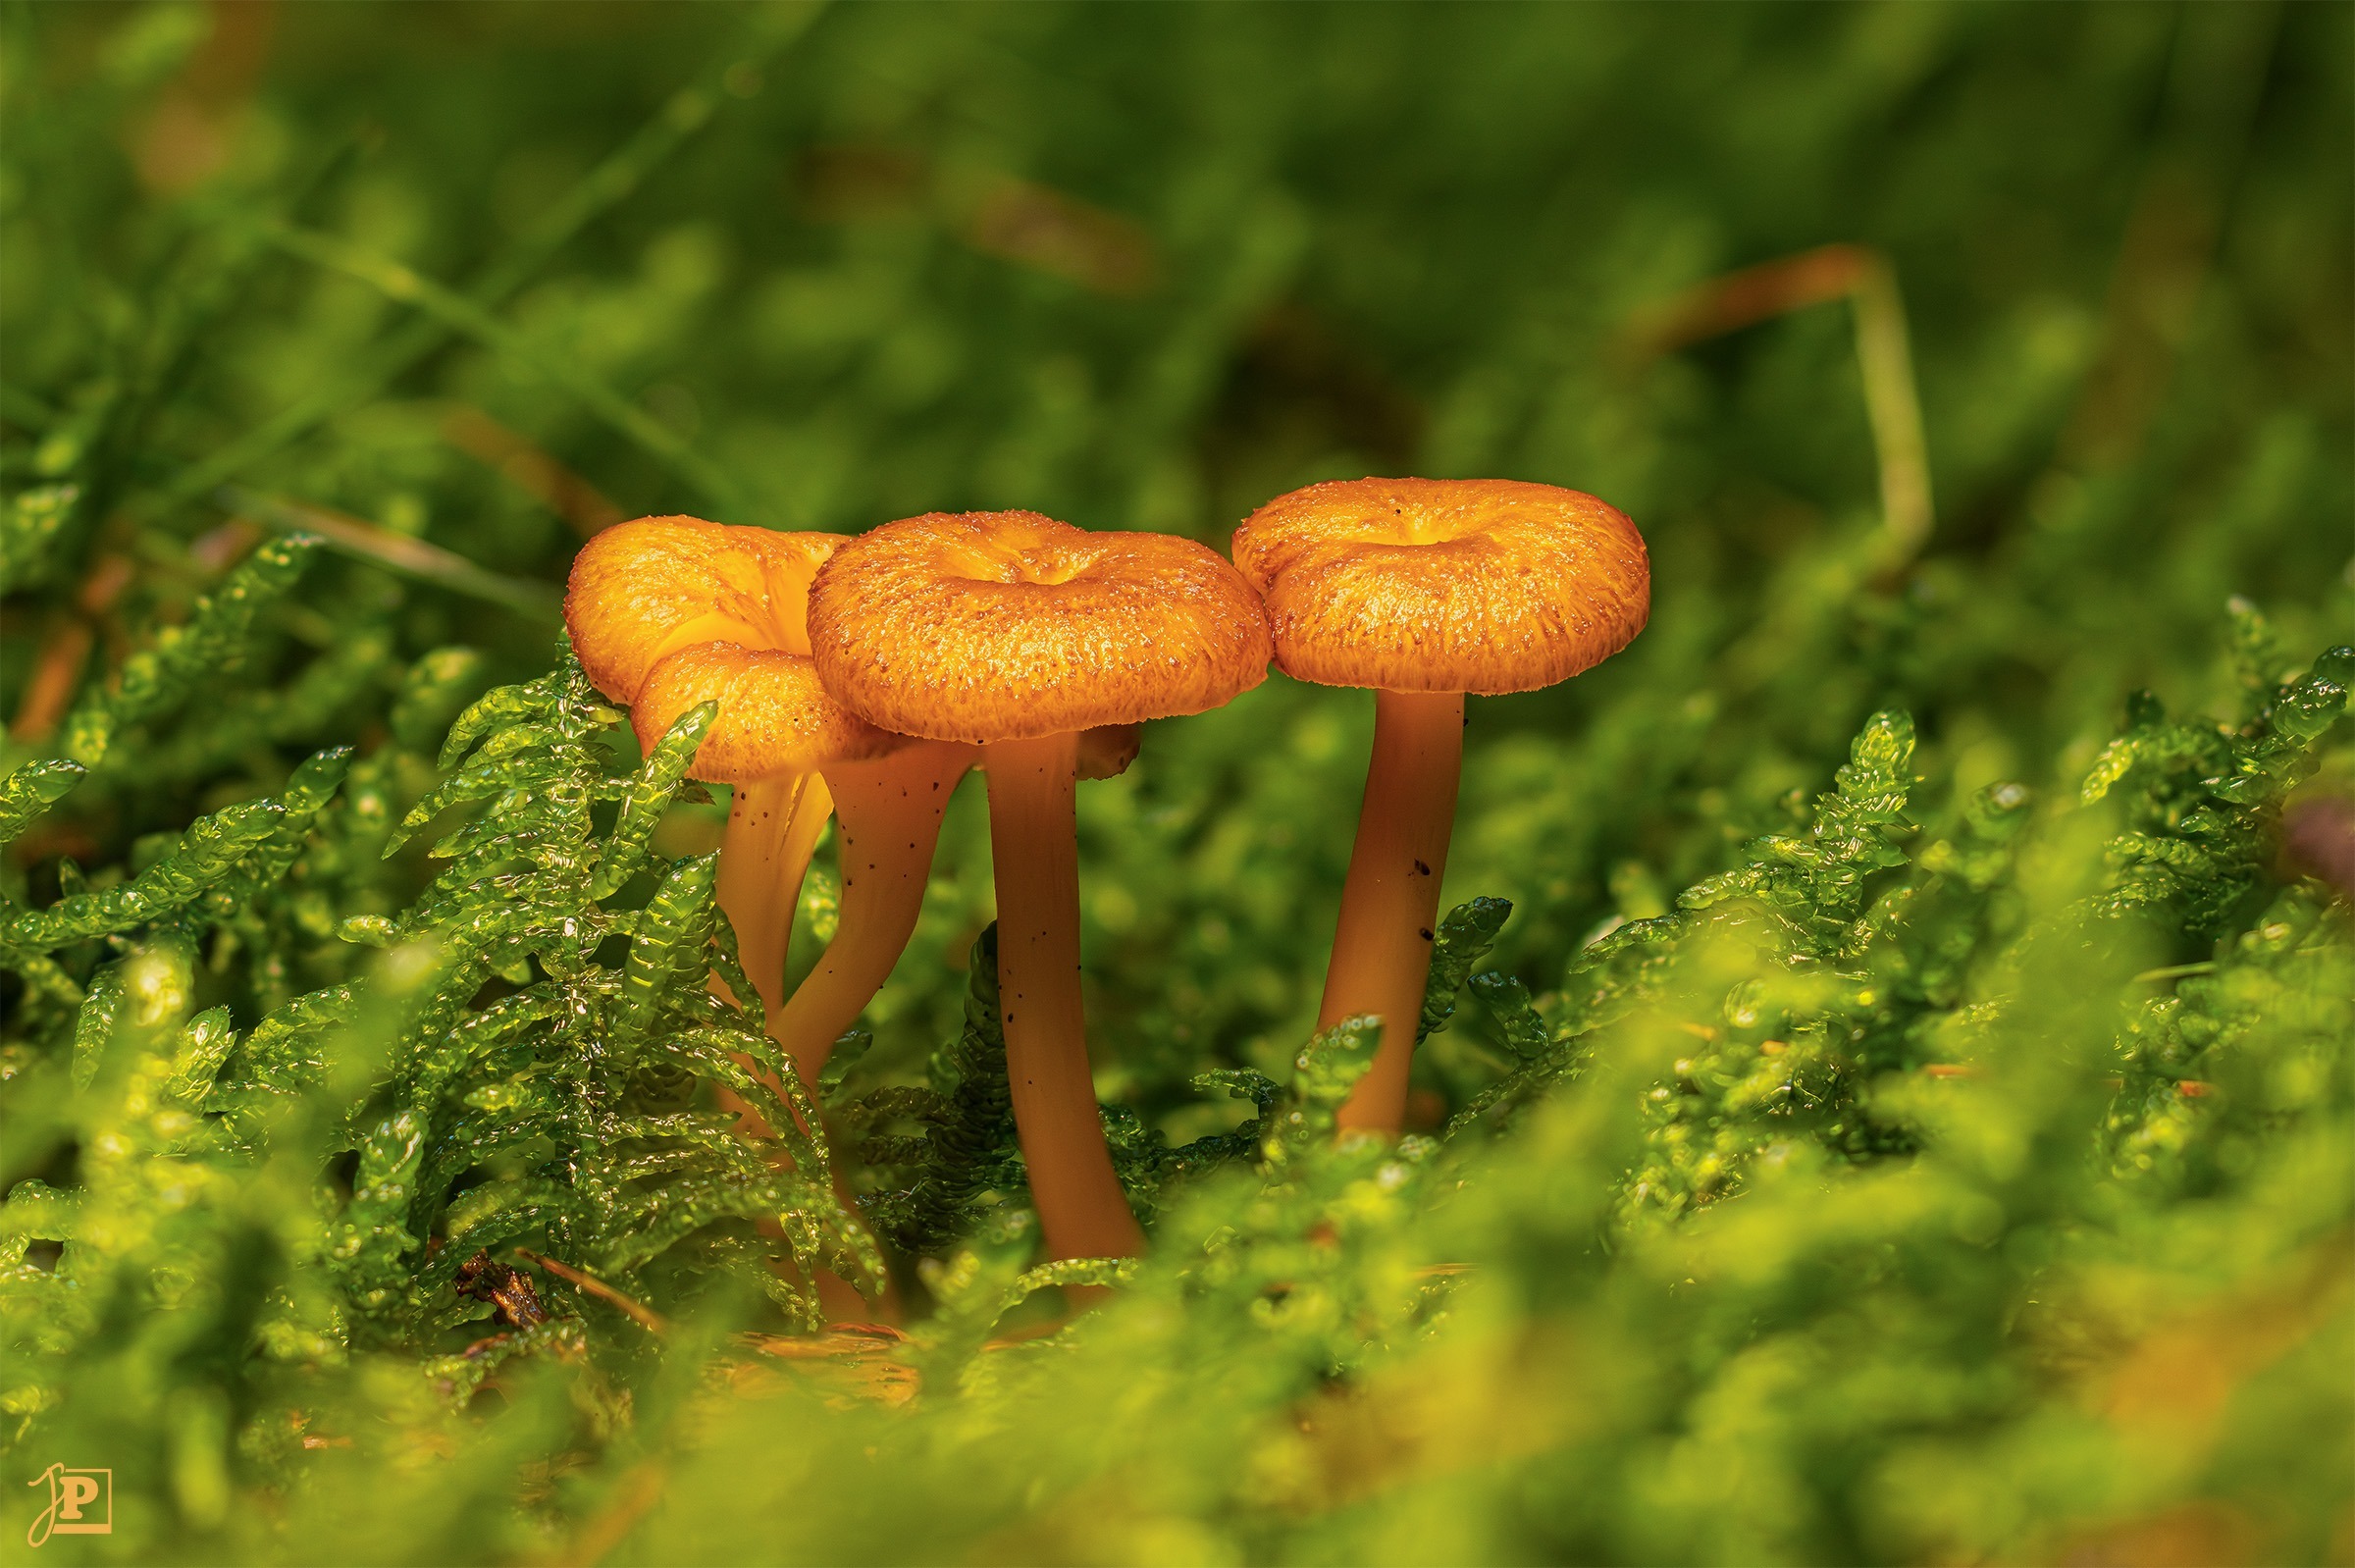
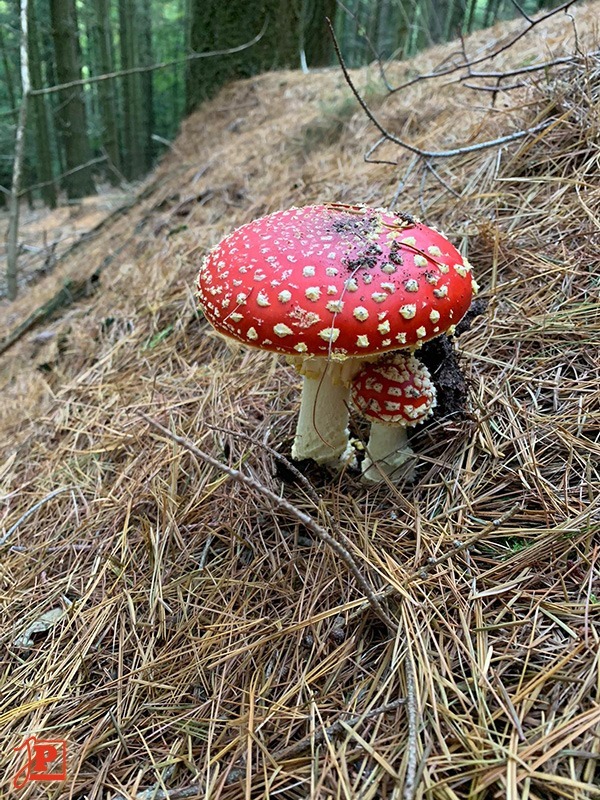
I found the first specimens relatively quickly. They look beautiful, but I have no idea what I’m photographing. A look on the internet gives many answers: purple-felted wood chanterelle, pearl mushroom, flaming mushroom, russula, trumpet chanterelle… These names alone! Yet many species look confusingly similar. Asking friends confirms: an exact identification is often only possible under the microscope. That’s why I’m not even going to try here…
An essential means of separating the mushroom from the background is depth of field. But in the macro range, this also gets in the way, because it is often simply not possible to get a sharp image of the entire mushroom from front to back in just one photo. Even with the aperture closed, the sharp area is often only a fraction of an inch deep. The solution to this dilemma is “focus stacking” – something that modern cameras like my R7 are now fortunately capable of internally. This involves focusing the lens on the foremost point of the mushroom. The camera then takes a series of pictures – usually 20 in my case – with the focus point being moved back a little for each photo. The individual sharp “slices” of the mushroom are then combined in Photoshop to create a single, consistently sharp image.
The Results
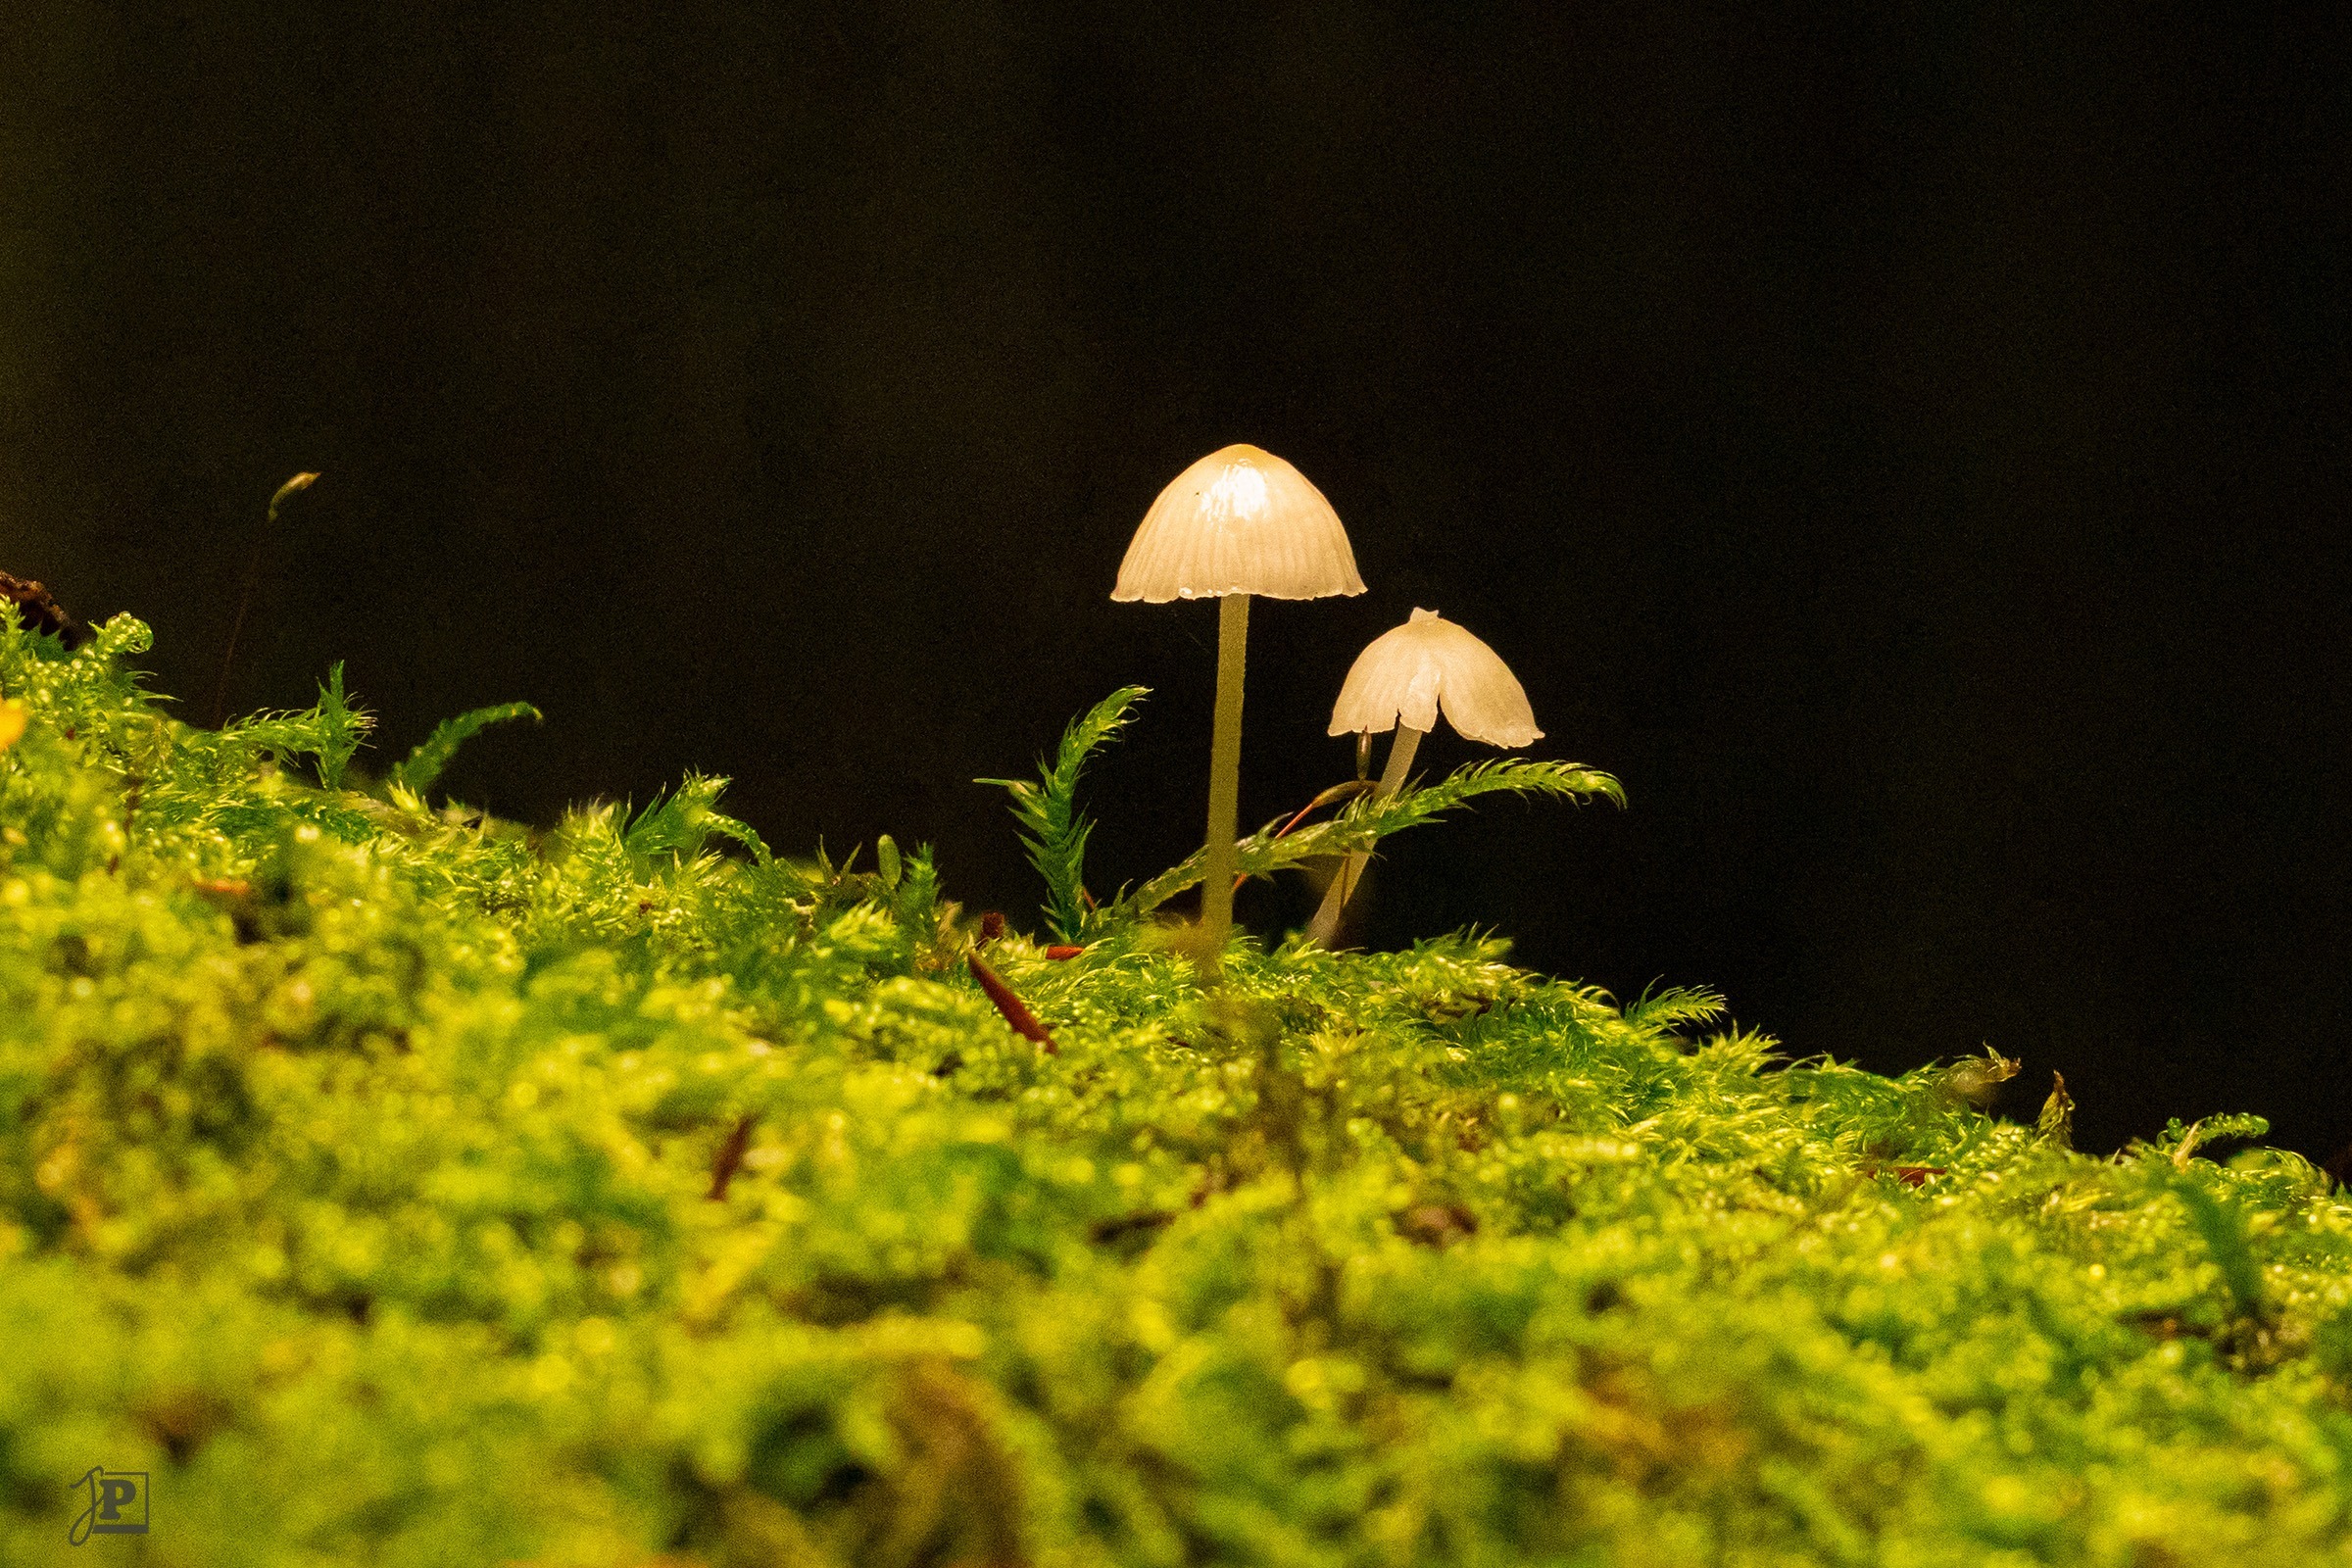
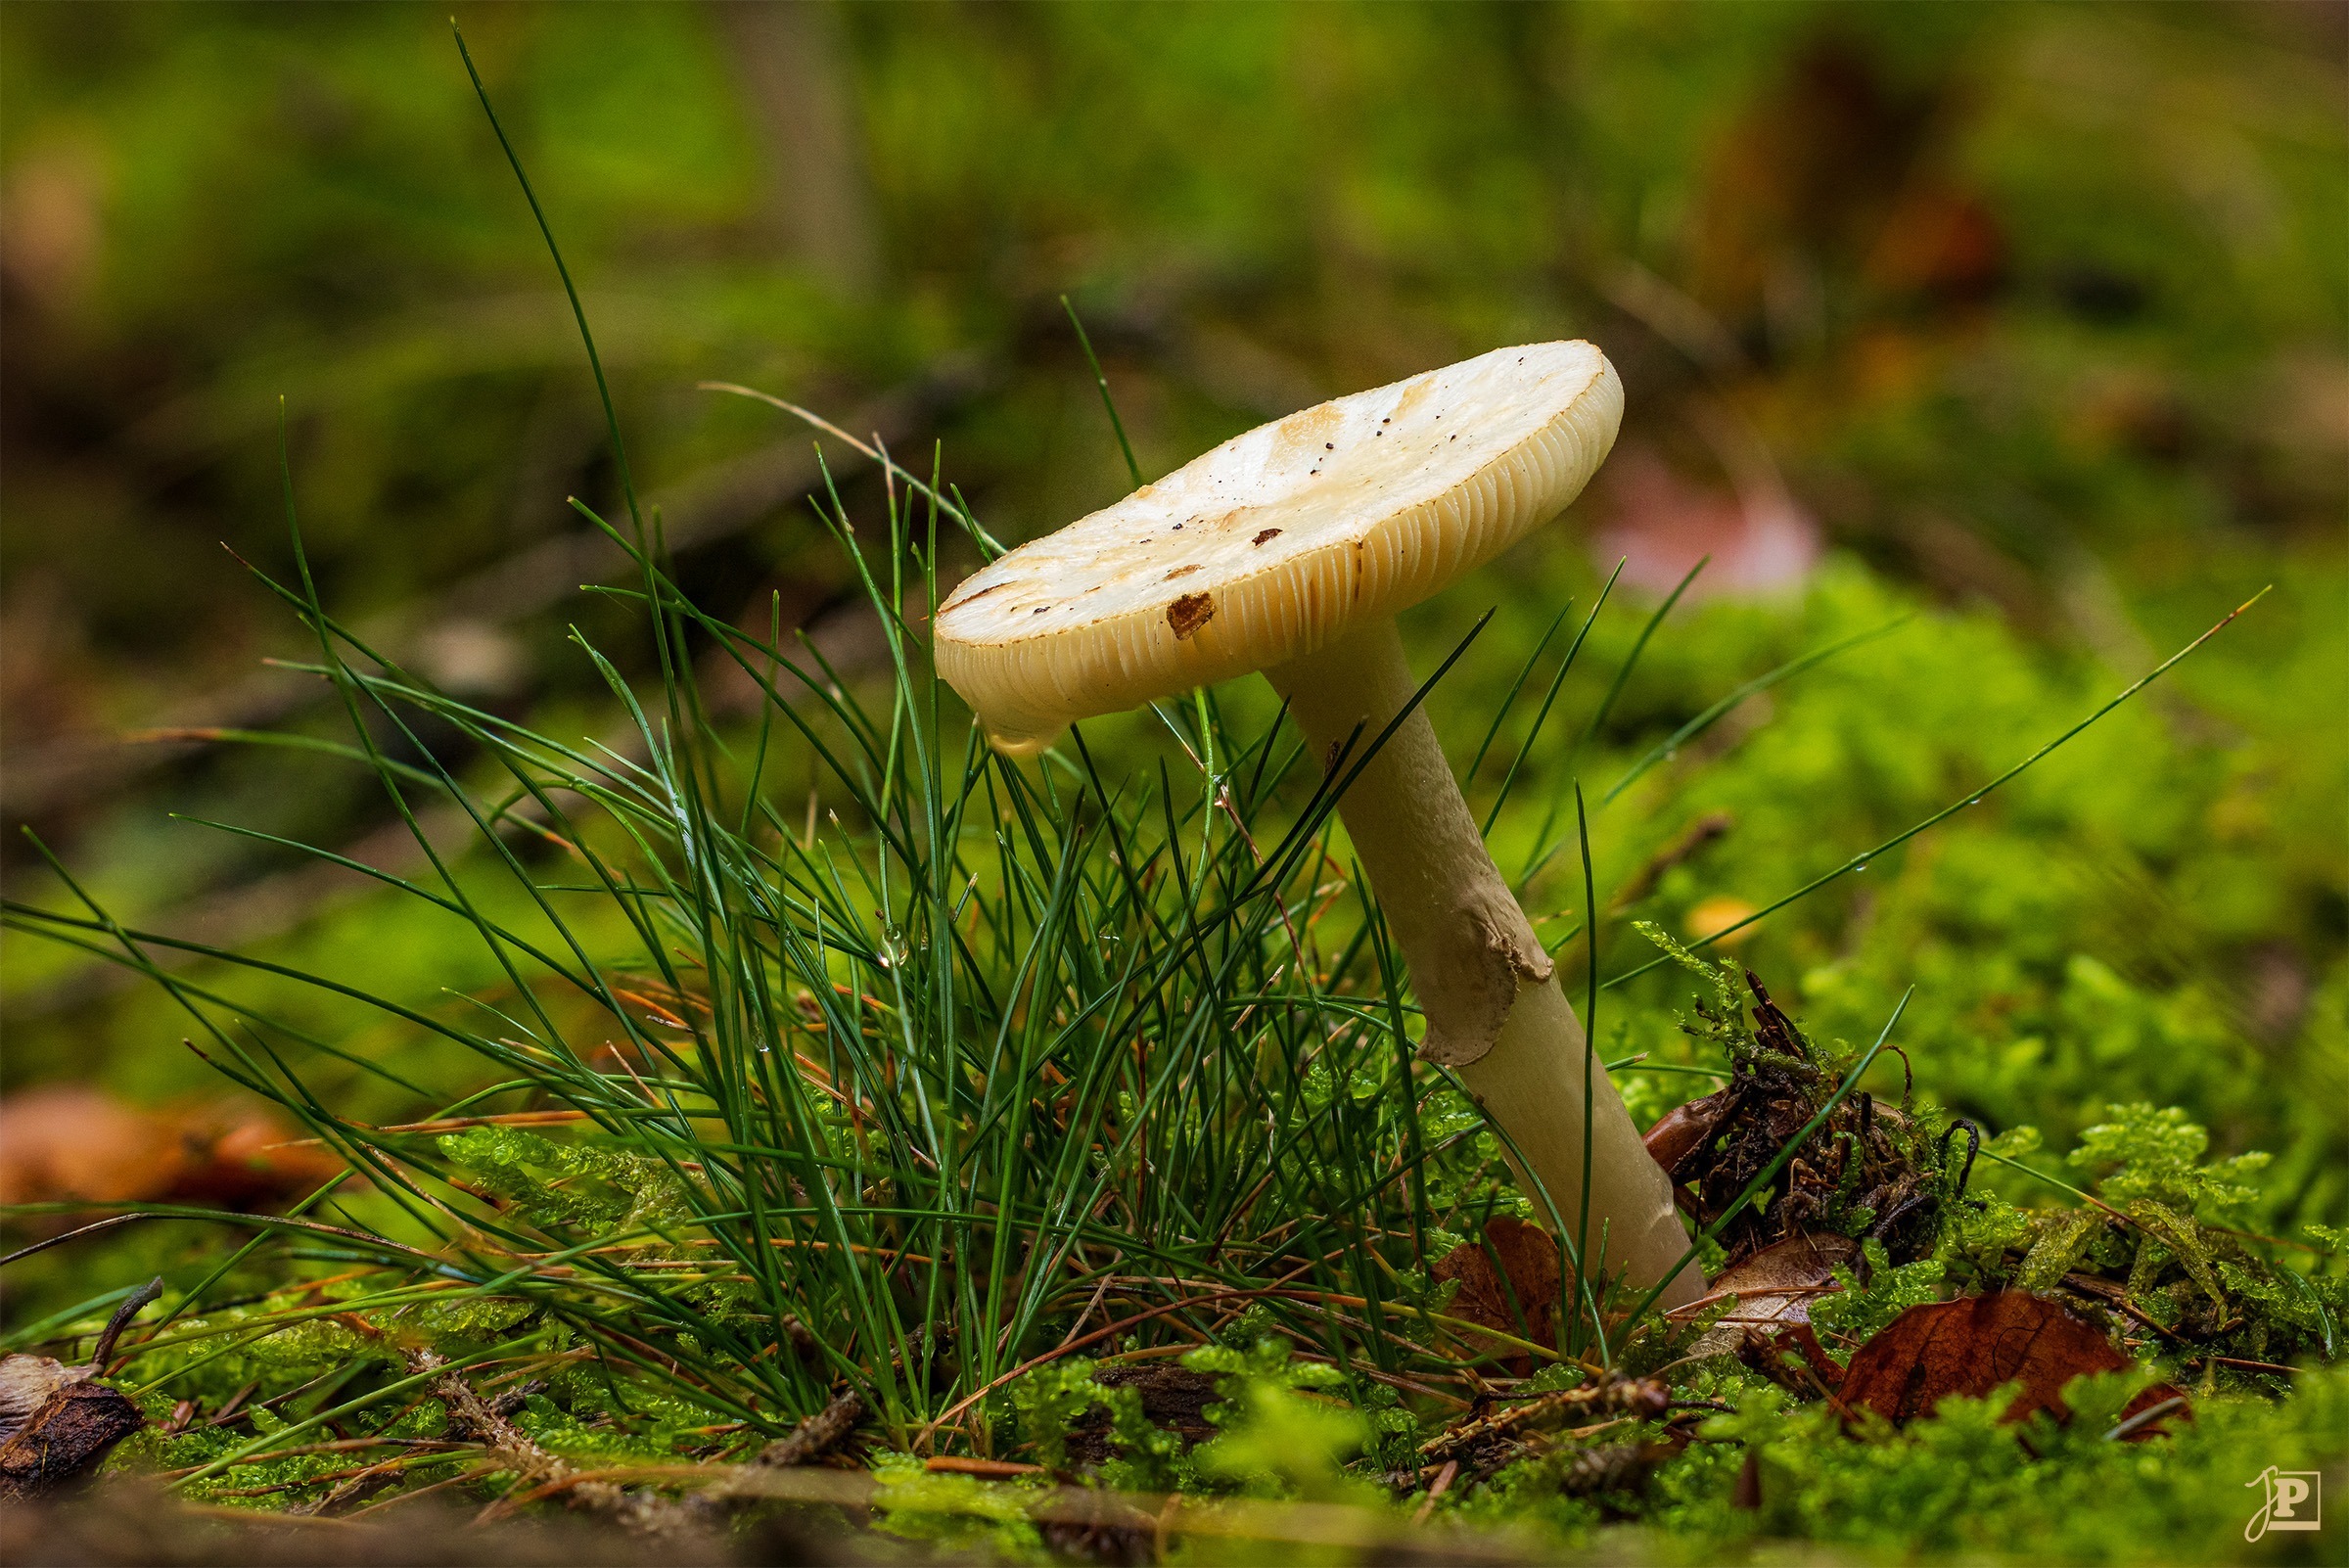
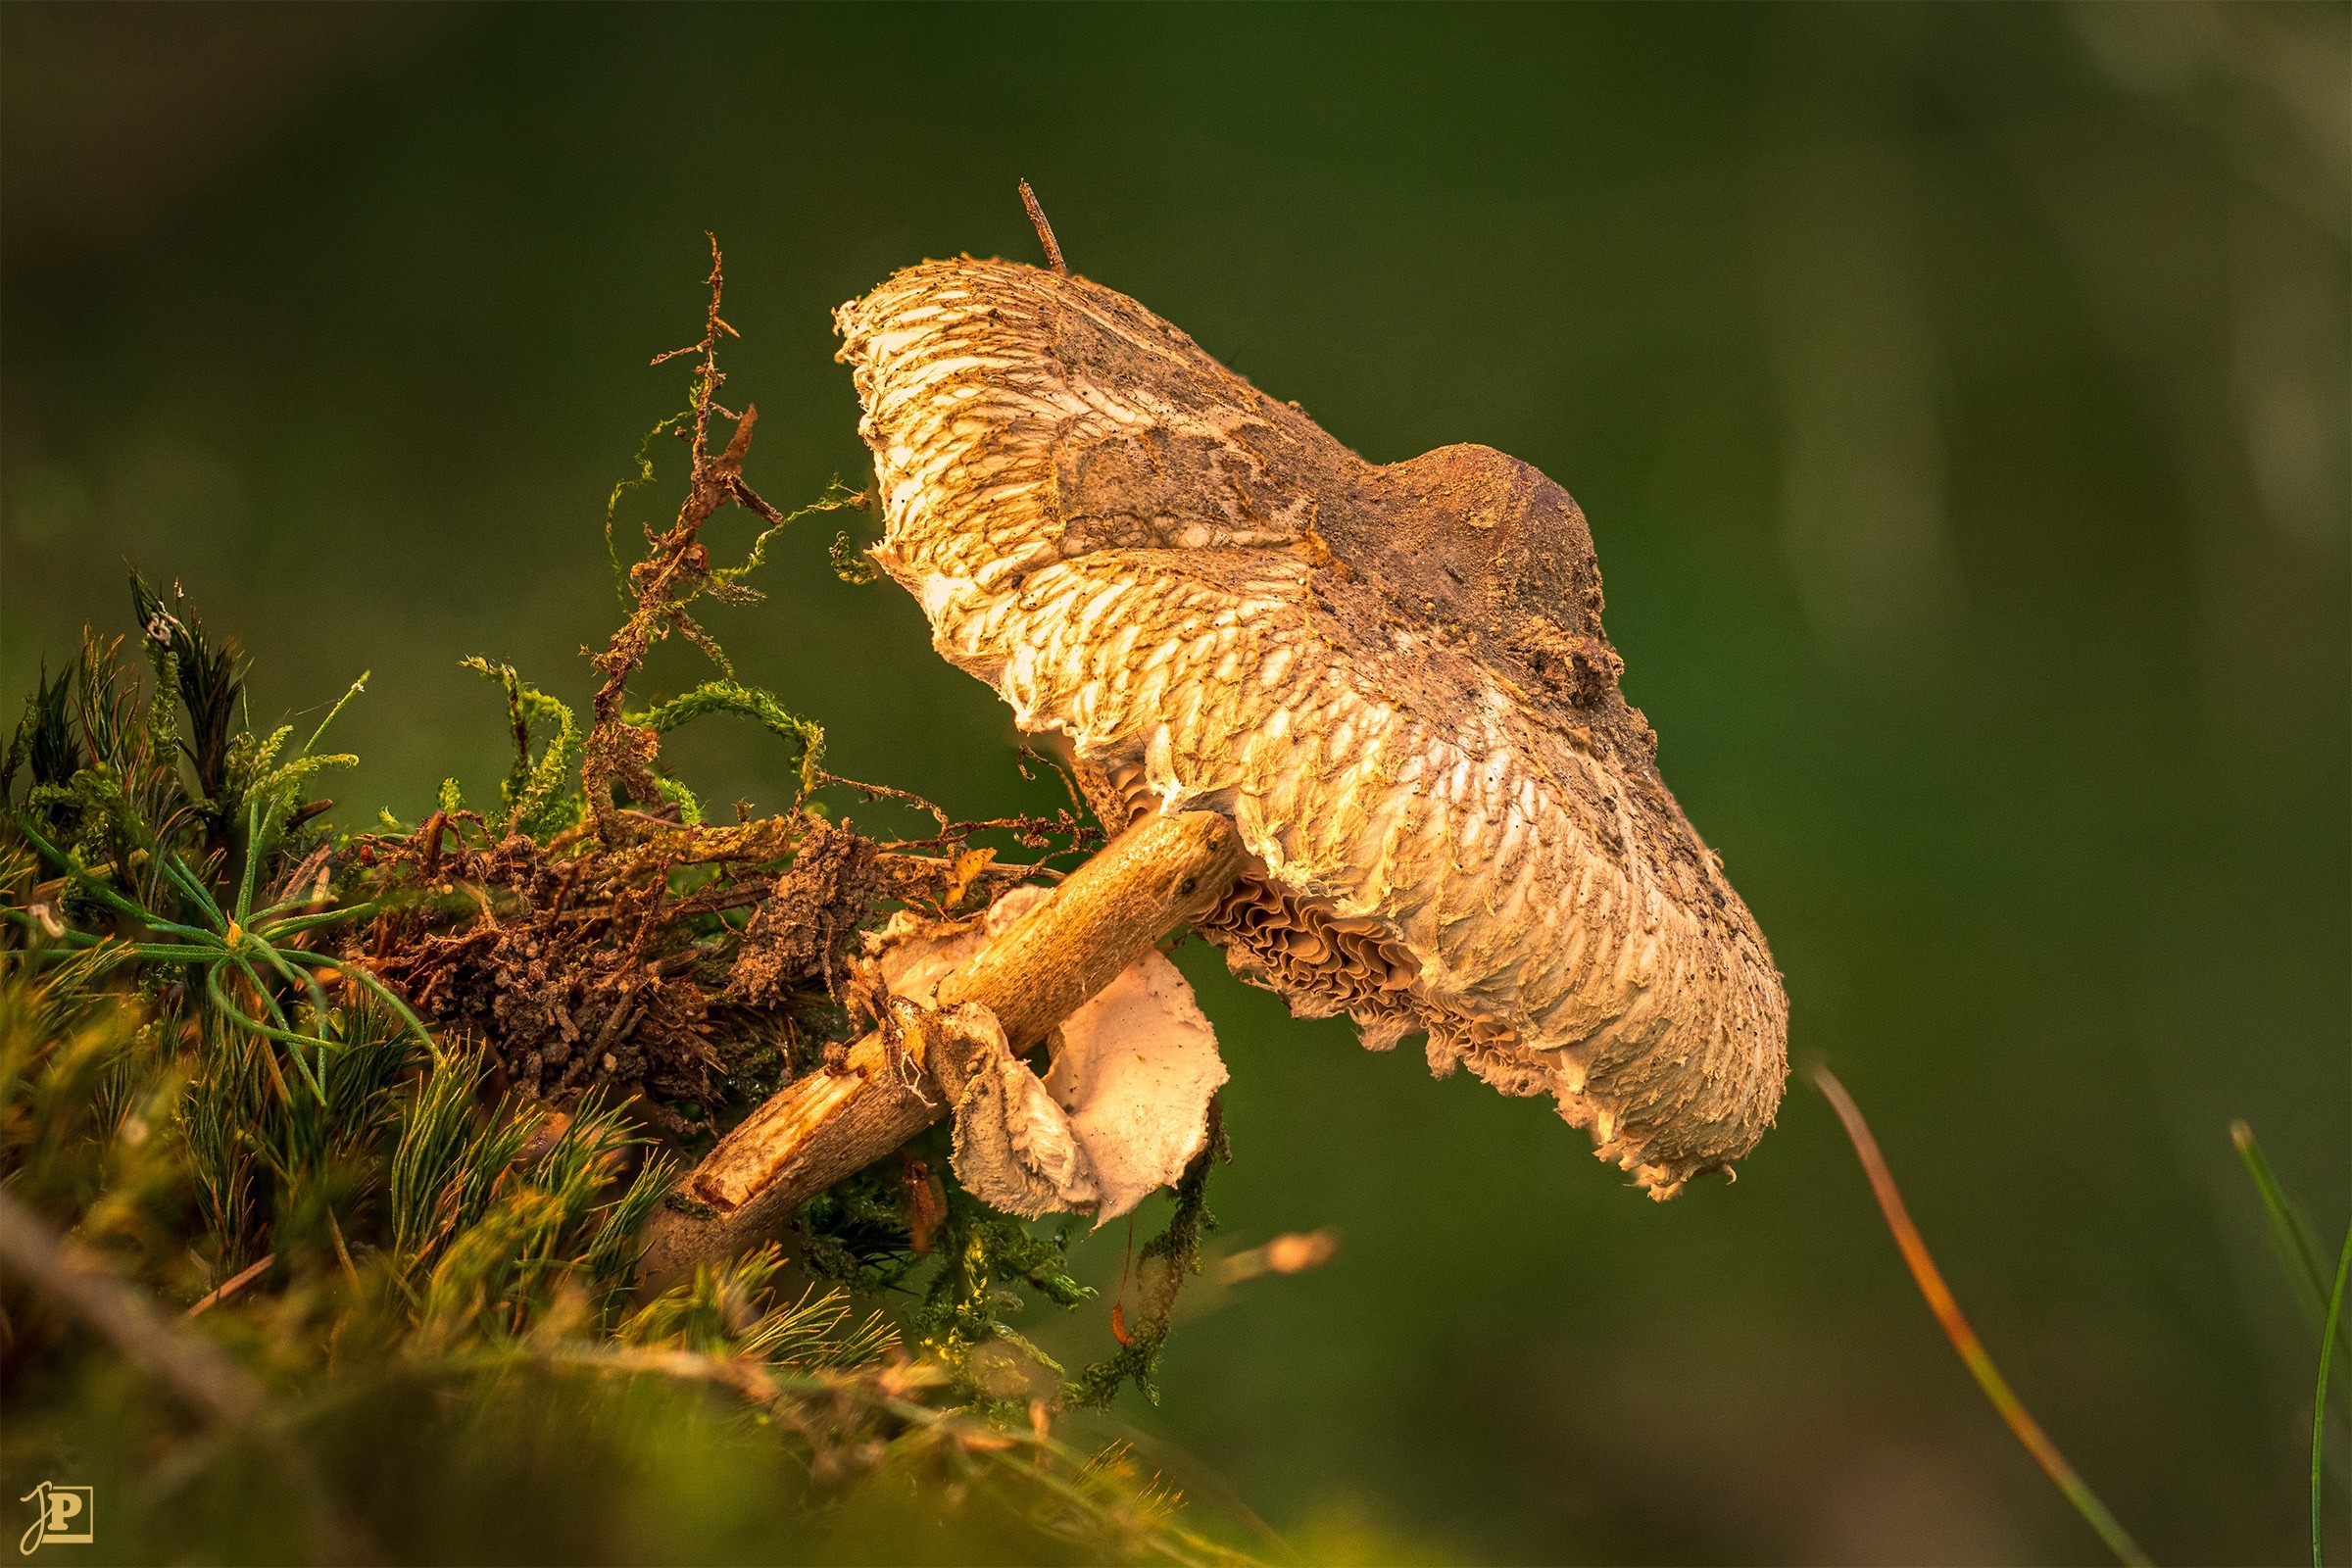
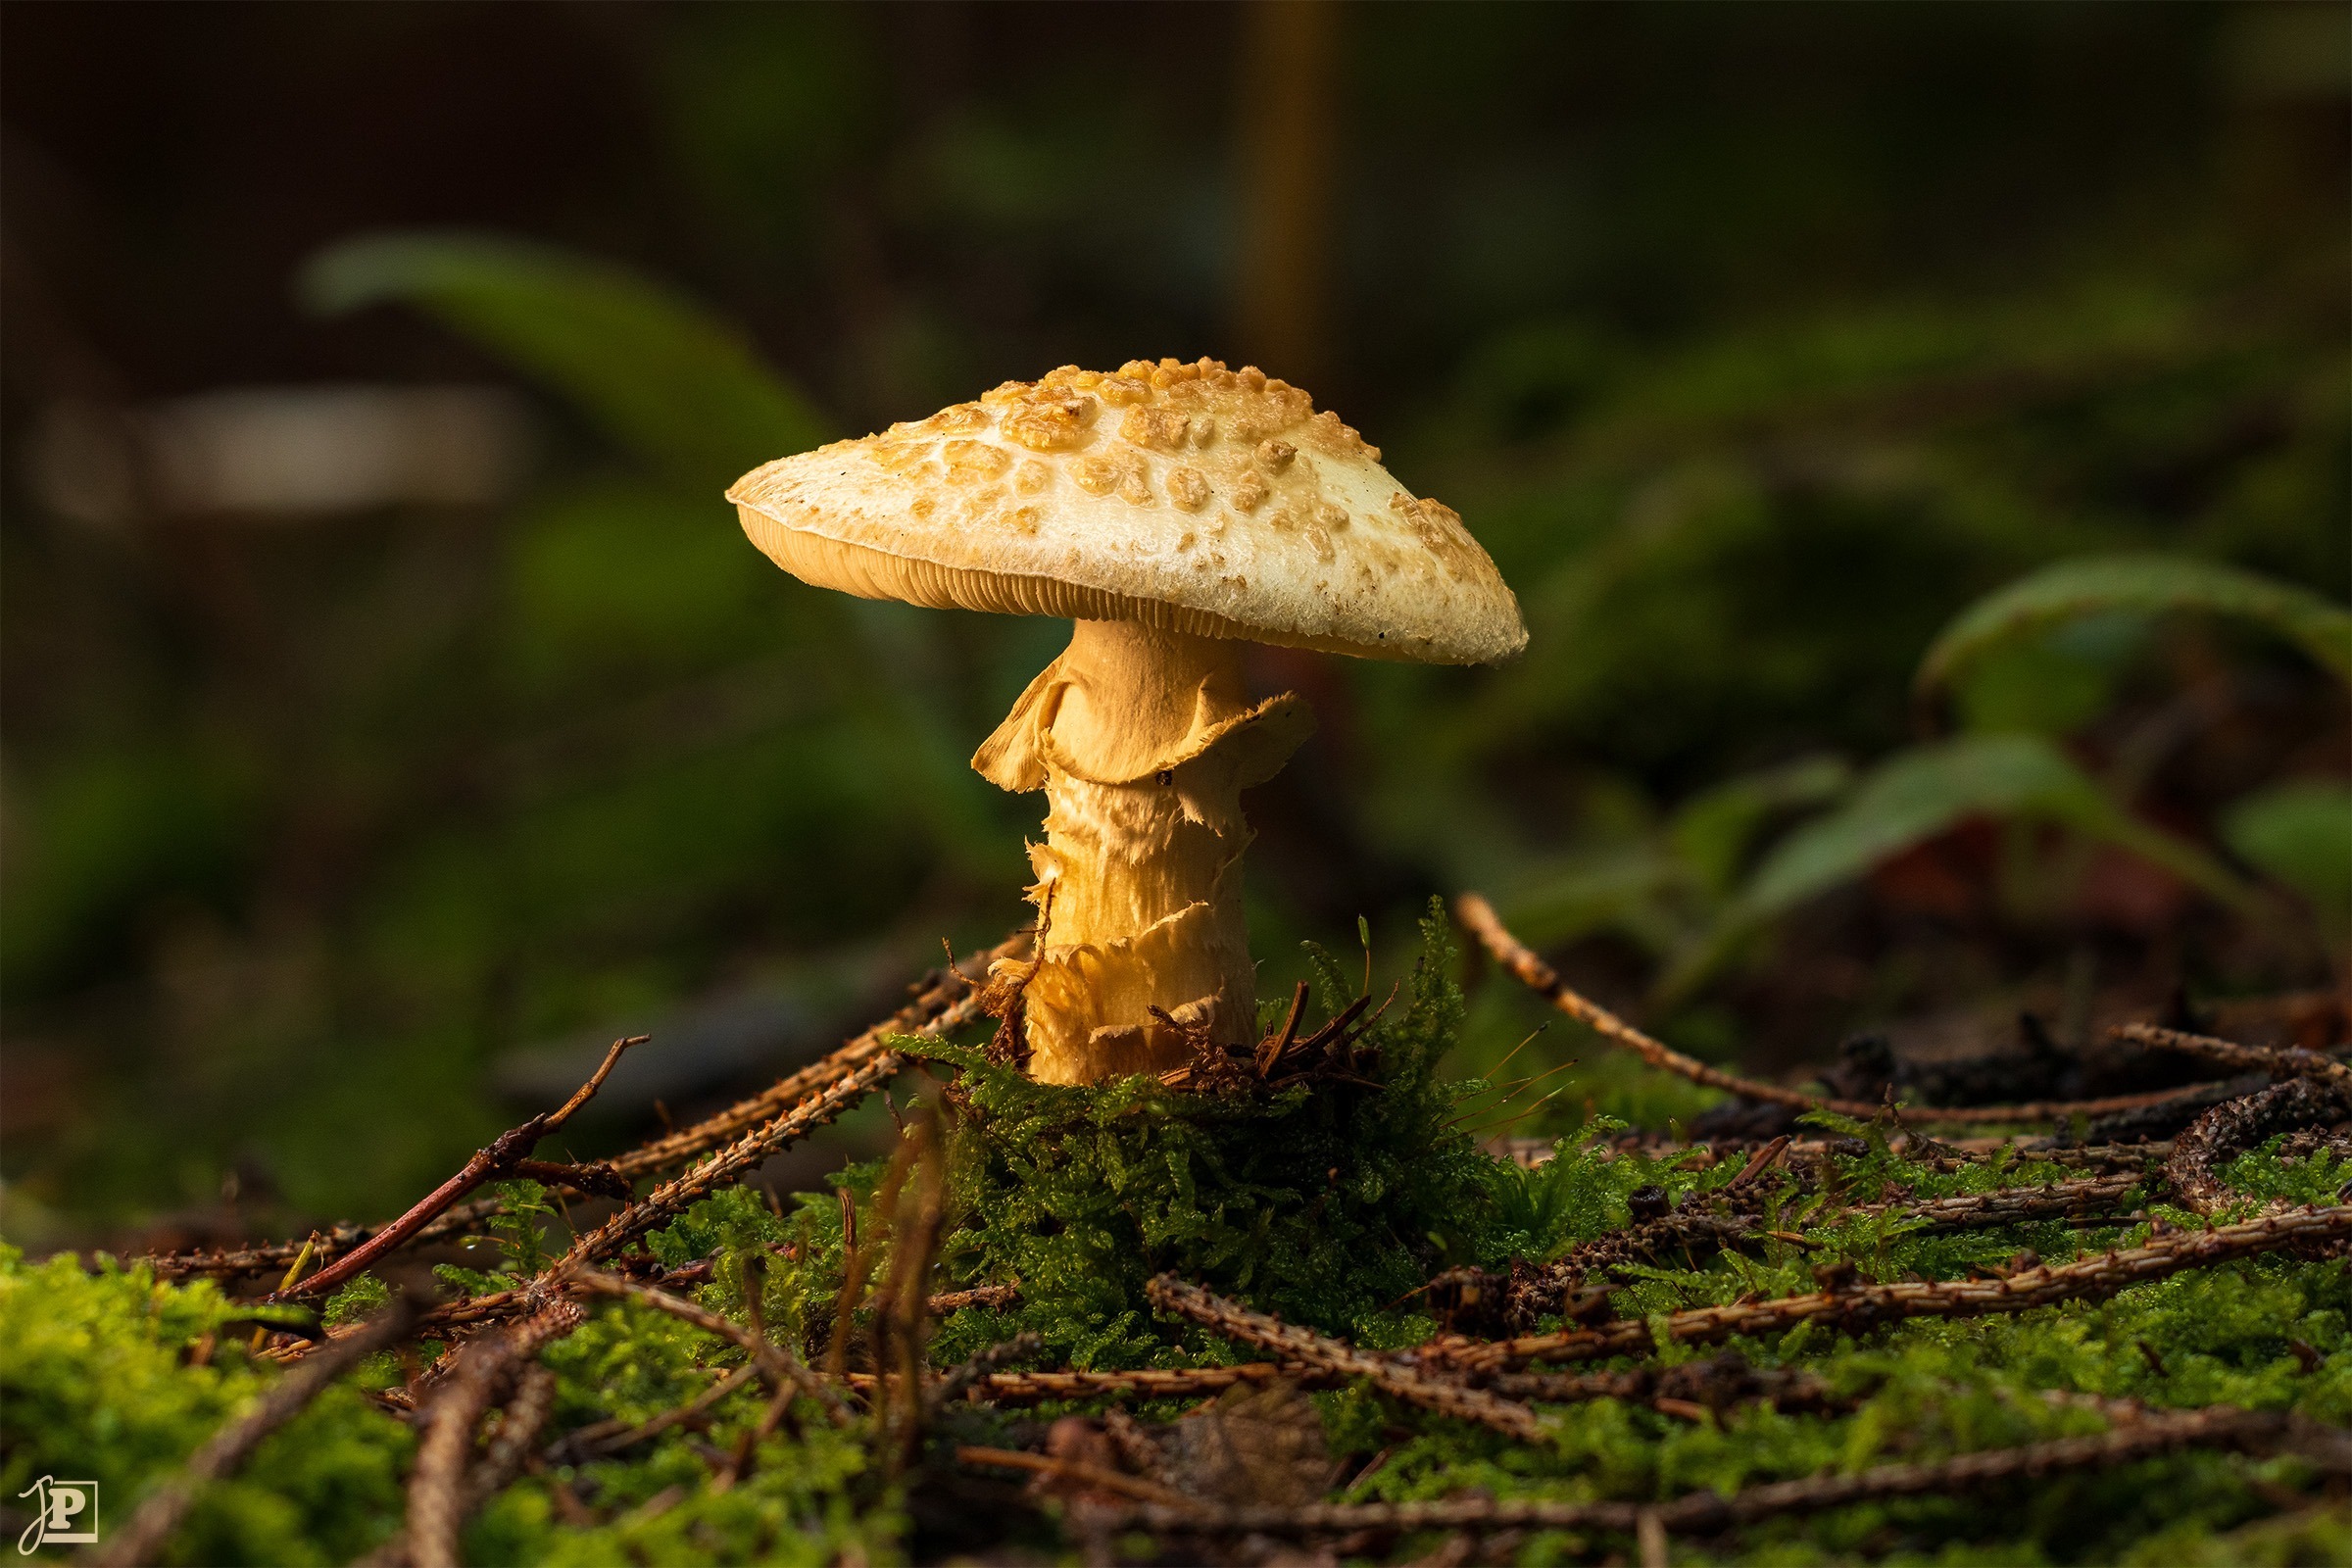
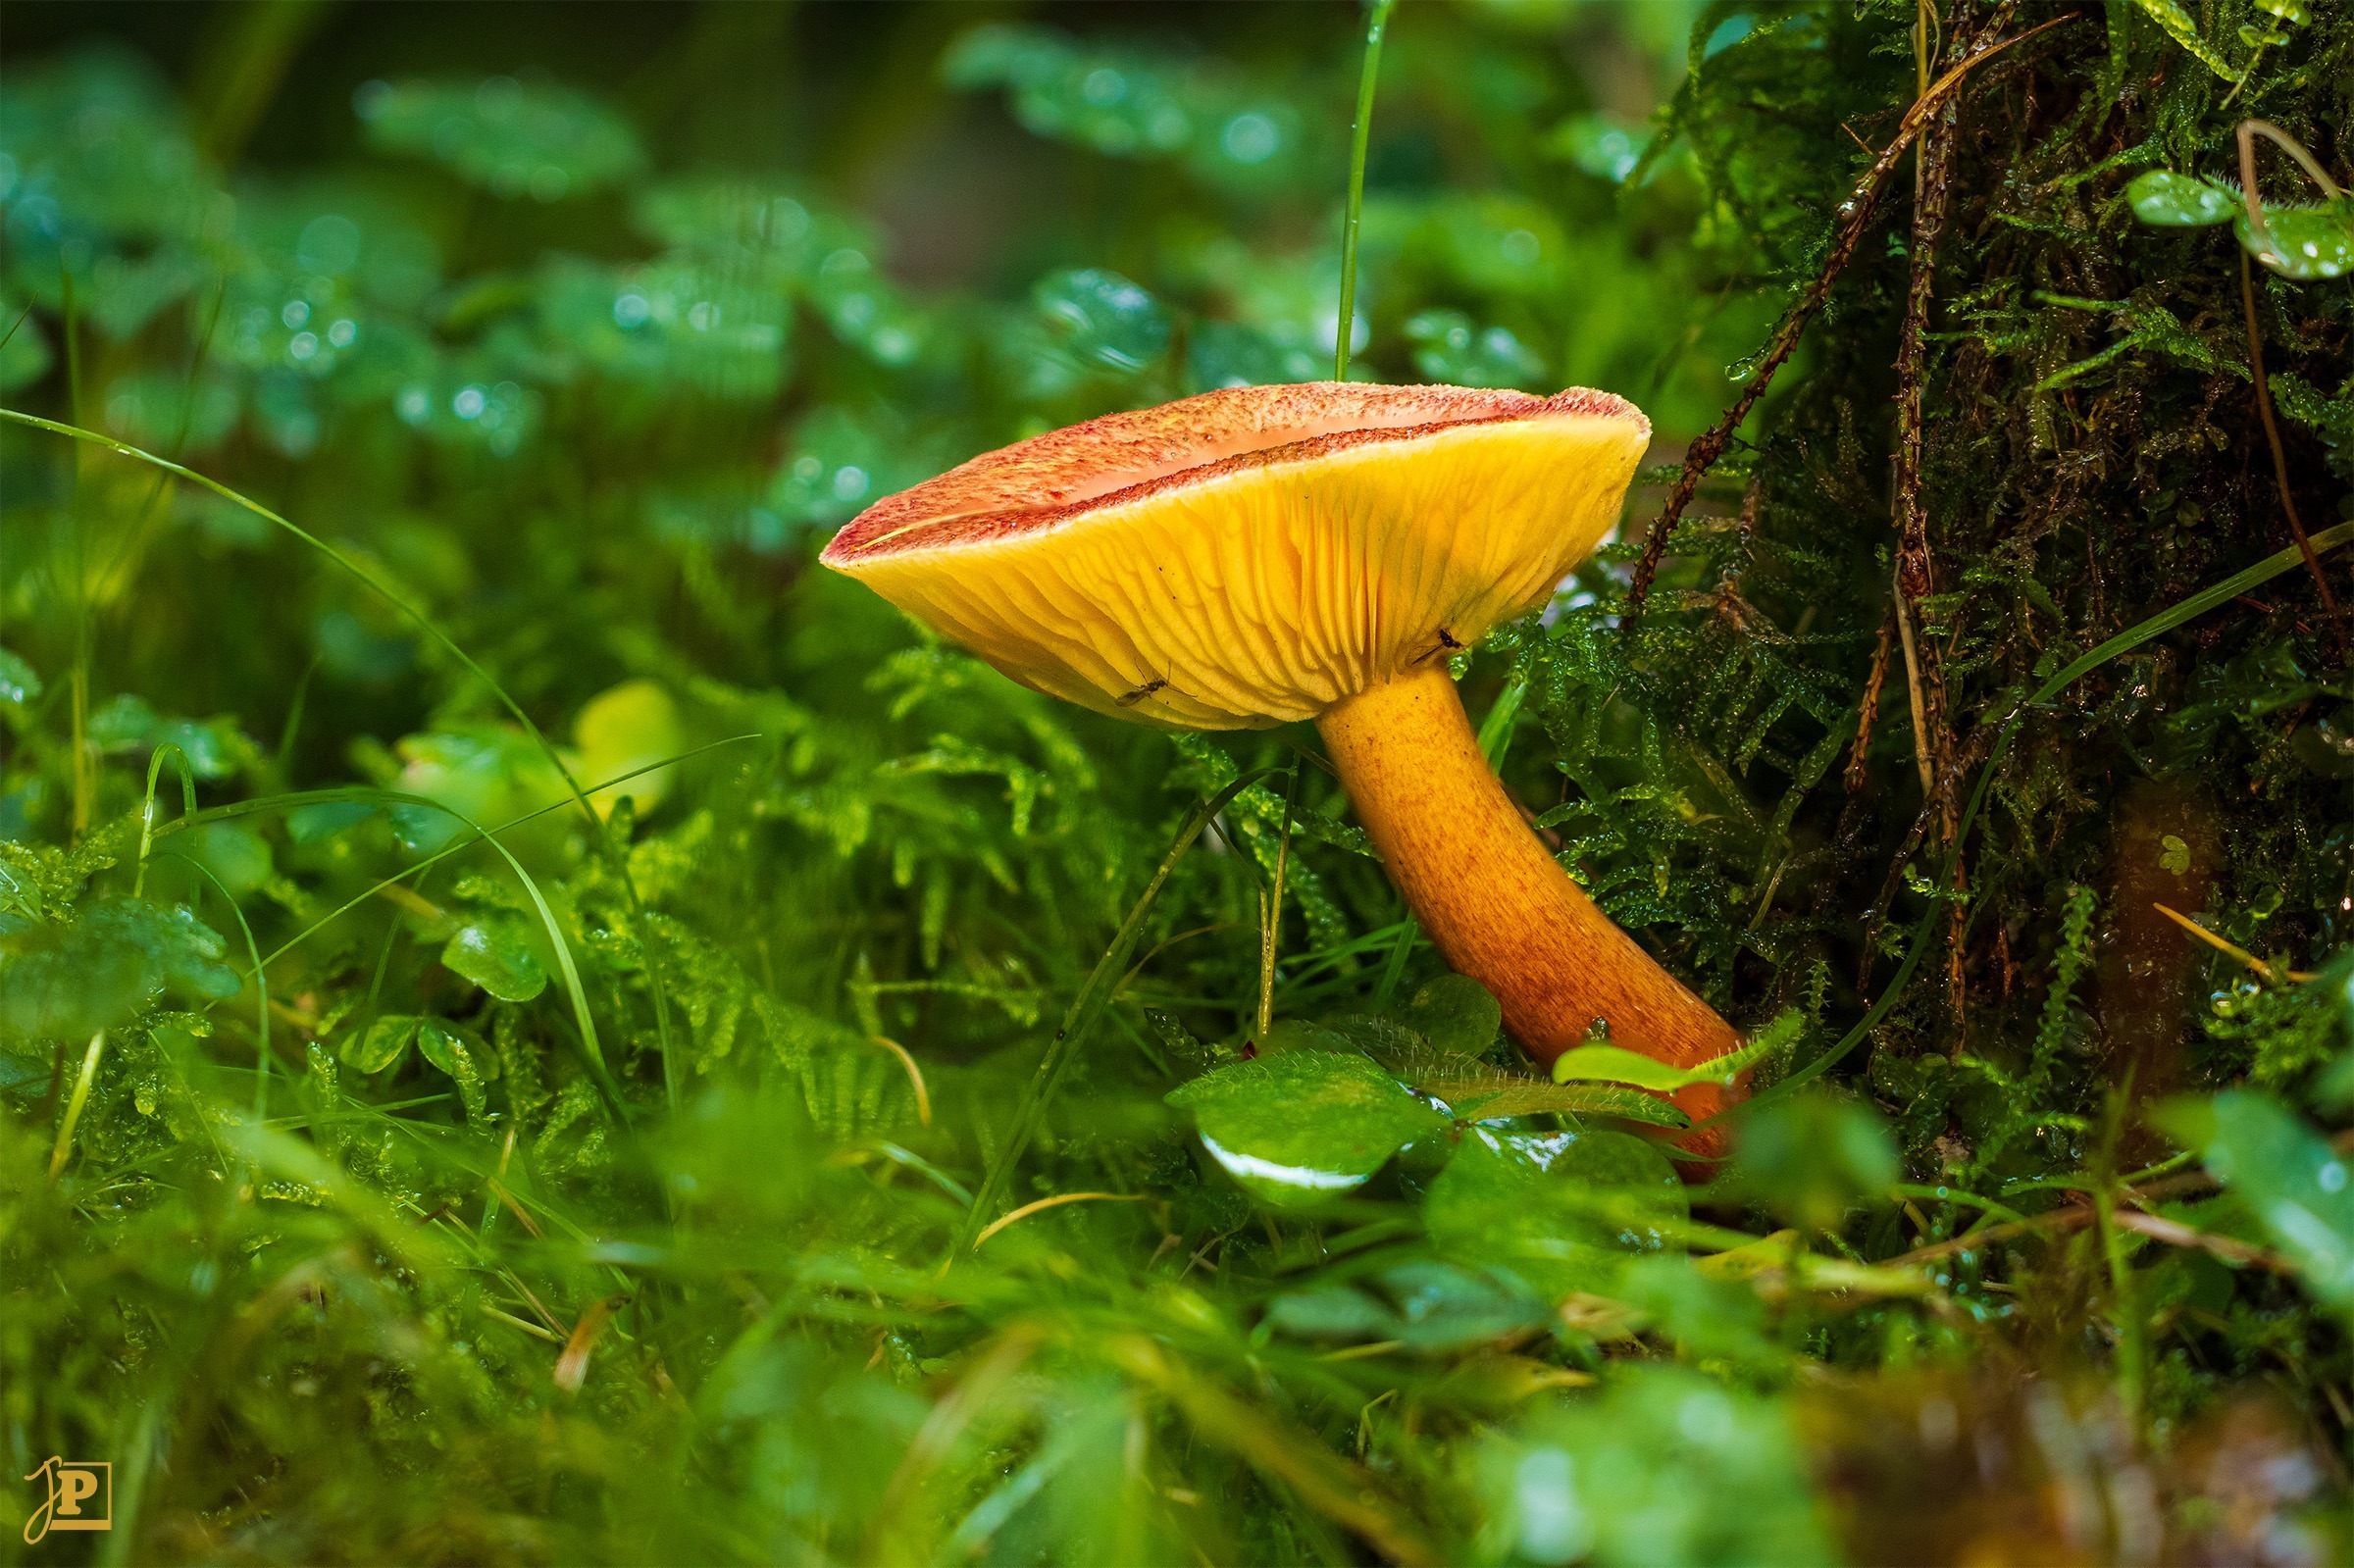
The following photos were taken during a single, extended fall walk in the drizzle. Each image is composed of 10-20 individual shots to create a sharp mushroom against a blurred background. The LED lamp was sometimes used discreetly, sometimes more prominently, to create either a natural or a mystical look.
The first image, the “mushroom lamp”, represents November in my 2024 calendar.