Little Planet “Railway World”
When you are getting yourself into post-processing photos on the computer, you quickly stumble across all sorts of effects and ideas. One of them is the “little planet”. However, for this effect to work well, a suitable subject is needed. Fortunately, I had one in mind right away…
From “Railway World” to Little Planet
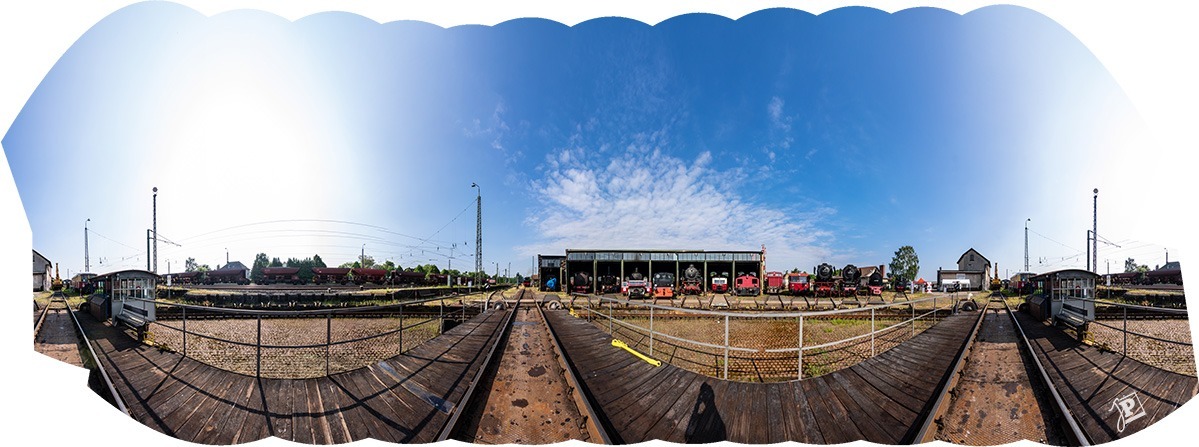
The starting point for a “little planet” is always a 360° panorama, i.e. an all-round view composed of individual photos, which finally forms the “horizon” of the small world. You need an open space which offers interesting, not too small (too far away) subjects all around. And I knew exactly such a place: the turntable at the Railway Museum Darmstadt-Kranichstein, which is suitably called “Bahnwelt” (“Railway World”).
I had taken panorama photos here many times before, but it is always hard to convey the “all around” impression when you see the vehicles lined up next to each other in and near the roundhouse. On the sunny morning of a special event day, when all the doors were open and the engines were lined up nicely, the perfect opportunity presented itself.
Planet Blueprint
So, now the question was how to actually make a little planet. Fortunately, there is a very nice step-by-step tutorial on Gavin Hoey’s YouTube channel: Shoot and stitch a “Little Planet”. In the video, Gavin explains how best to take the photos for such a panorama and then shows, in a simple and comprehensive manner, the entire post-processing on the computer to the finished planet.
Of course, it started with taking photos. From the center of the turntable, I took three series of pictures. Each series consists of 12 images with some overlap between them. It’s important to make sure that the first and last photos of each series also overlap; for example, photos 13 and 24 show the same track in the following gallery view:

For the first series the camera was level, for the second series it was tilted down, and for the third one tilted up, to get a maximum amount of coverage. I shot all photos with identical manual settings (ISO 100, 11 mm, ƒ/8, 1/200 sec., white balance “sunny”, manual focus) to get a consistent look. As a result, the sky in the direction of the sun is burned out despite +/- 2 f-stops exposure bracketing for HDR, but the surface of the planet ends up being uniformly bright with no dark spots.
After the usual post-processing in Lightroom regarding contrast, colors and sharpness – again with identical values for all photos – I loaded the 36 single frames into Adobe Photoshop CC using the Photomerge function and stitched them together to make a panorama.
A small world emerges
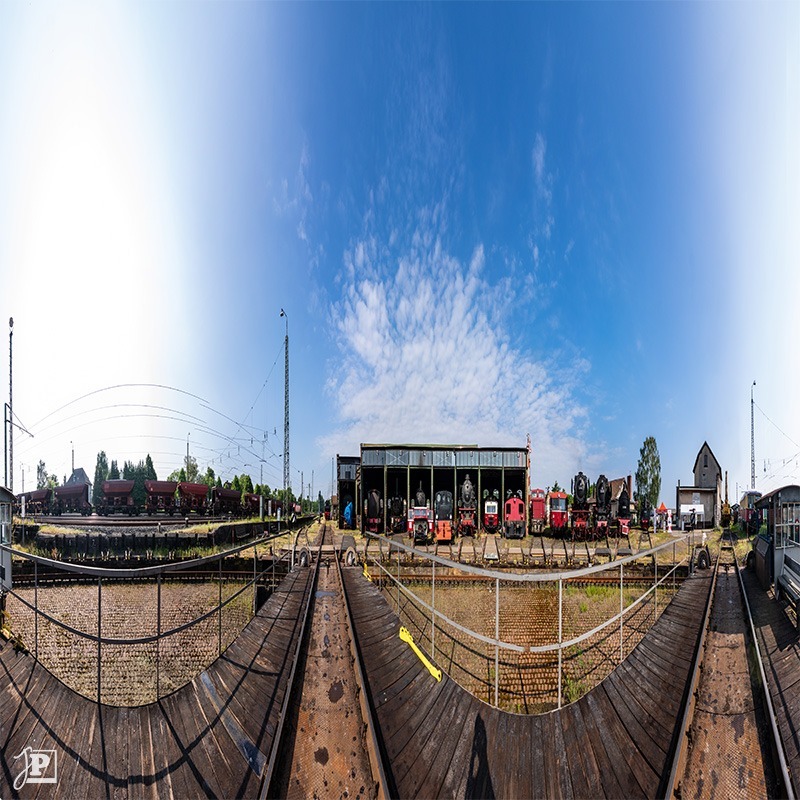
This is followed by the most time-consuming step in the whole process, namely cleaning up the edges. The left and right edges of the image must fit together perfectly so that you don’t see any seams in the final image. Using the Offset filter in Photoshop, you move the seam from the edges to the center of the frame and then find a good spot that is seen on both sides. I chose the center of the little operator’s house on the turntable.
From there, you copy a section of the image, move it to the other side and work on it so that you don’t see the transition anymore. The video linked above demonstrates this process very nicely. After moving the image back and cropping it to fit, you now have a panorama whose opposite sides are identical. All that is left to convert it into a planet, is to compress it so that it is exactly square and rotate it by 180° so that it is upside down.
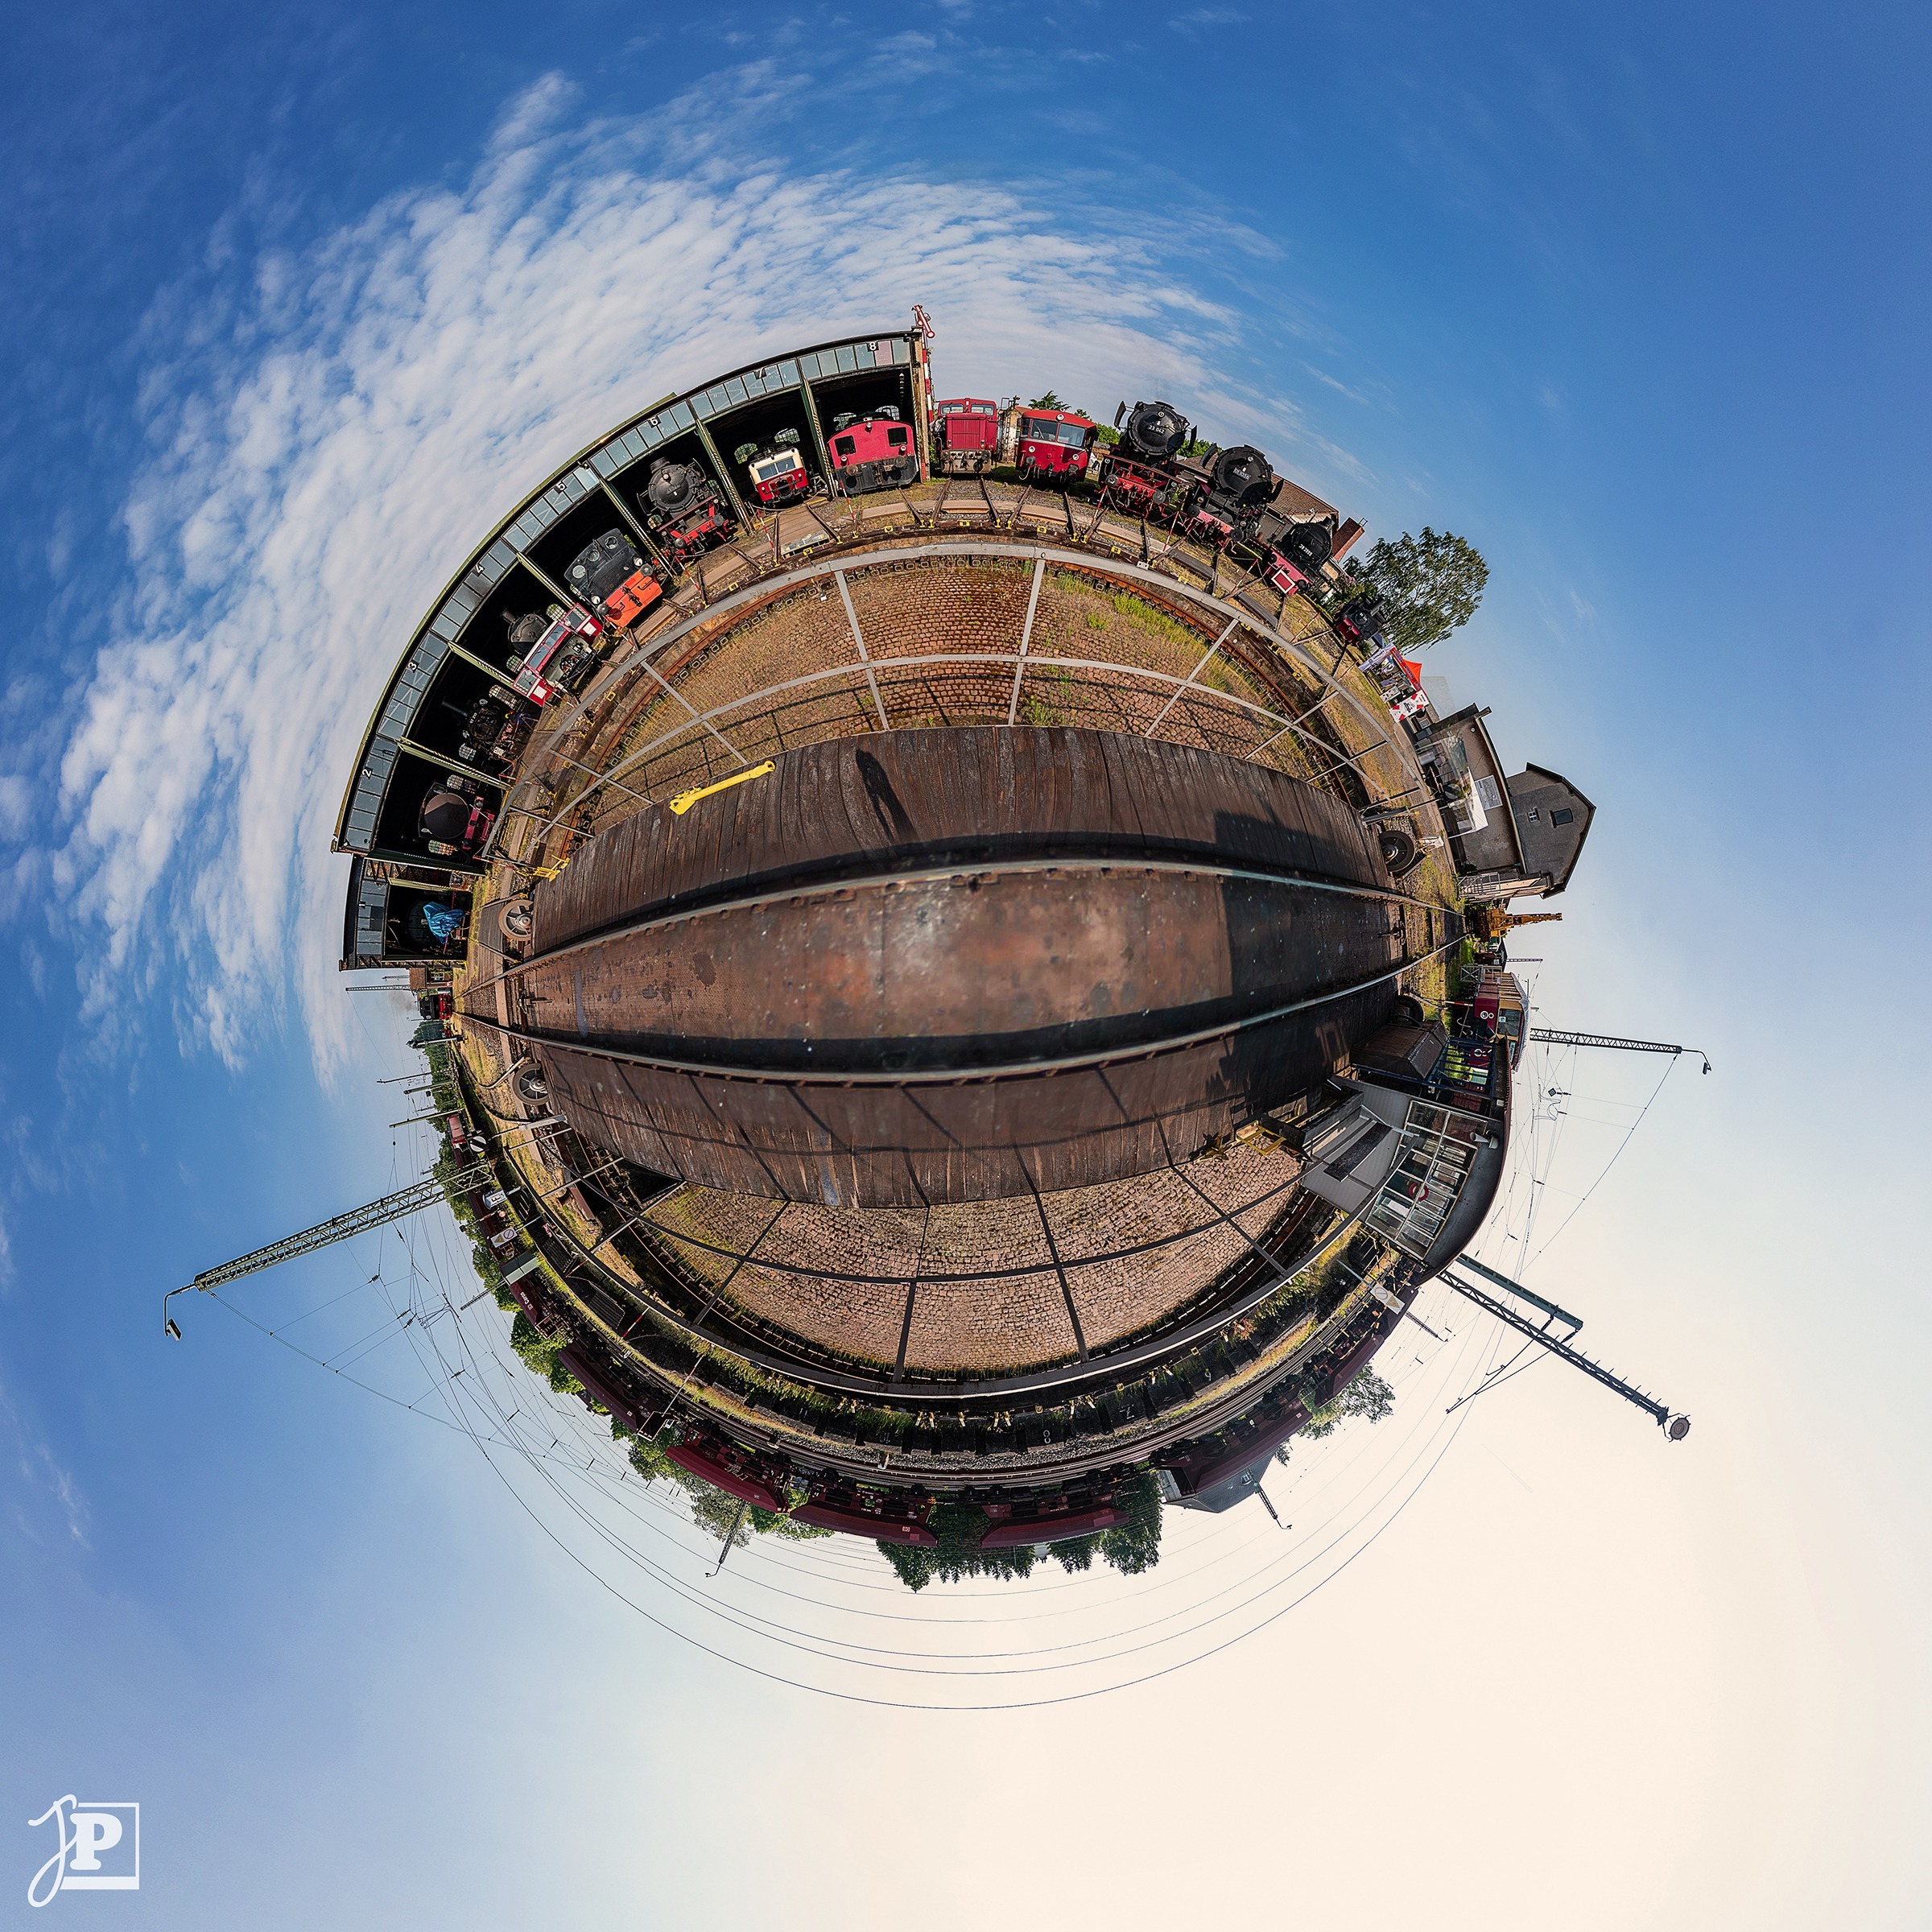
The actual transformation into a little planet is then done in Photoshop via Filter → Distort → Polar Coordinates → Rectangular to Polar. This will contract the top edge of the image into the center of a circle, while the bottom edge becomes its circumference.
Lastly, some finishing touches were needed. I partially cropped the edge of the image and added content-based fill to the corners where needed, leaving enough but not too much sky around the planet. I also rotated the photo so that the locomotives were standing on top of the planet instead of hanging off the bottom. However, it bothered me that the conversion process had caused the track on the turntable to contract into an hourglass shape in the center of the image.
Here, I could make use of an old drone photo. This had been taken years before, but also on a sunny day and at about the same time, so that the highlights and shadows matched my target image.
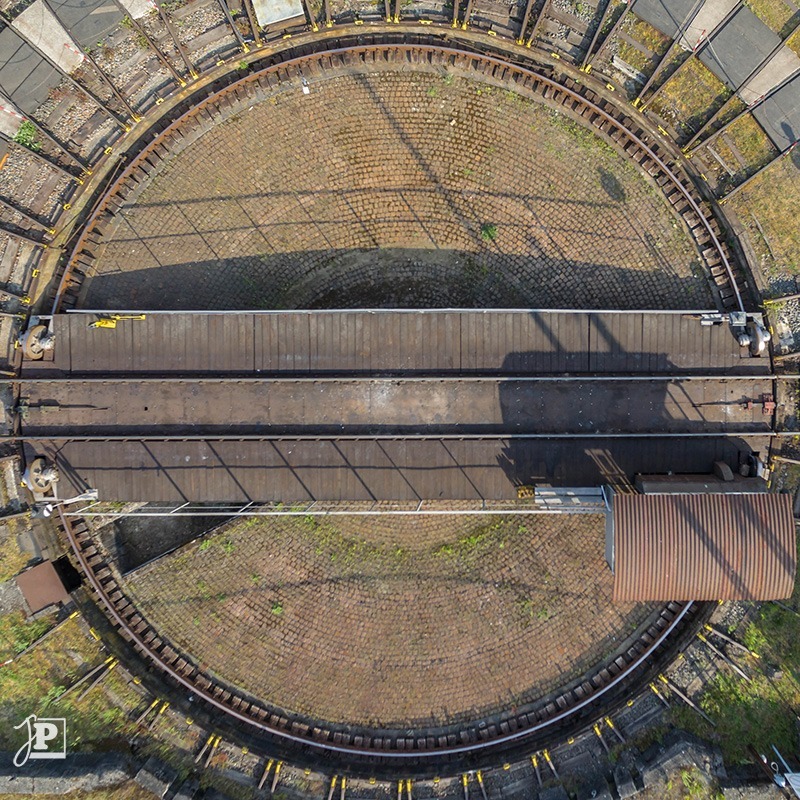
Using Filter → Distort → Warp as well as the Liquefy tool in Photoshop, I shaped the old photo to fit, color-matched it to the planet, and blended it in so that you see as little of the transitions as possible. The only drawback is that the finished image looks slightly blurred in the center of the image due to the low resolution of the drone photo.
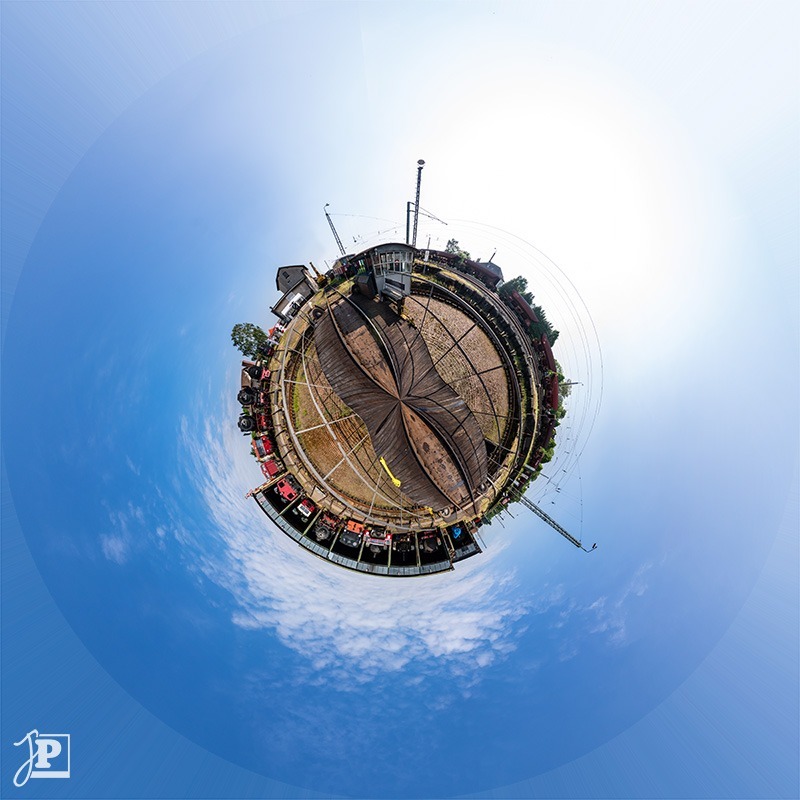
The result
In the end, the Railway Works becomes a little planet:
The railway museum is now using this image as its profile picture on social media.